From the FX Plug-Ins menu, choose Apply
Plug-In Chain to apply a plug-in chain to a selection or data window.
TIP
If you want to work with each data window's active plug-in chain
or use effect automation, choose View
> Plug-In Chain.
»For more information, see Using the Plug-In Chain
From the FX Plug-Ins menu, choose Apply
Plug-In Chain.
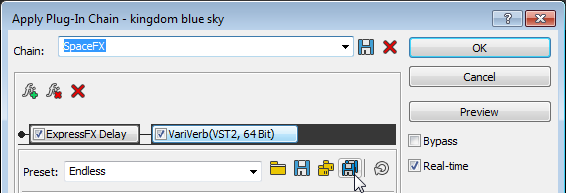
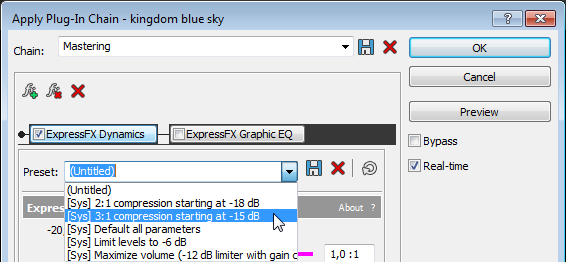
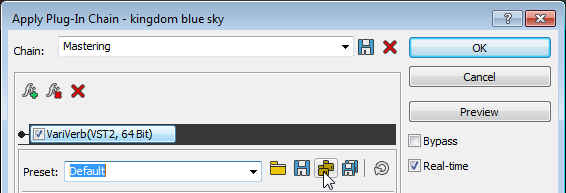
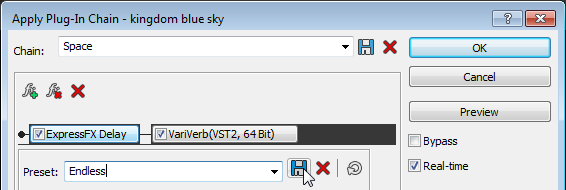
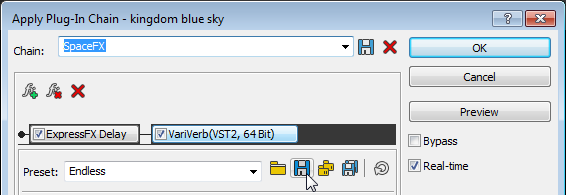
Choose a preset from the
Chain drop-down
list to load an existing chain, or add the desired plug-ins to the chain.
Choose which of the chain's
plug-ins you want to apply:
Clear
an effect's check box
to prevent the audio signal from being sent through the plug-in. This
is useful for isolating certain plug-ins without removing others from
the chain
Select
the check box for each plug-in you want to apply to your signal.
If you want to choose
a processing mode to determine how Sound Forge Pro software handles the extra
audio tail of plug-ins such as reverb or delay, right-click the processing
dialog and choose a command from the shortcut menu:
Choose Ignore
Tail Data to ignore the tail. The effect will end abruptly at the
end of the selection.
Choose Mix
Tail Data to mix the tail into the adjacent material. This is the
most natural-sounding option.
Choose Insert
Tail Data to insert the audio tail. All audio to the right of the
tail will be moved over to accommodate the extra audio.
Click the Add
Plug-Ins to Chain button in the Apply Plug-In Chain window. The Plug-In
Chooser window appears.
Select each plug-in you want
to add, and then click the Add
button, or browse to an effects package. The plug-ins appear in the Apply
Plug-In Chain window in the order you added them.
TIP
Tips:
You can also double-click a plug-in in the Plug-In Chooser to add it to the
chain.
To reorder
the plug-ins within the chain, simply drag a plug-in button to a new location,
or click the Shift
Plug-In Left or Shift
Plug-In Right buttons.
Once you have added
all of the plug-ins and specified the plug-in chain order, click the OK button.
Removing
a plug-in
Select a plug-in in the Apply Plug-In Chain window and click
the Remove Selected Plug-In
button .
Editing
a plug-in chain
From the FX Plug-Ins menu,
choose Apply Plug-In
Chain.
Choose a preset from the
Chain drop-down
list.
To bypass a plug-in without
removing it from the chain, clear an effect's check box .
To reorder the plug-ins
within the chain, simply drag a plug-in button to a new location.
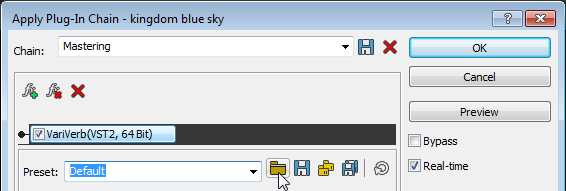
Click the plug-in's button
to select it, and use the bottom half of the dialog box to adjust the
effect's parameters. For more information about using specific plug-ins,
click the Plug-In Help button.
To apply the effects chain to a data window, click the OK button in the Apply
Plug-In Chain window.
When you save a plug-in chain, the order of the effects
in the chain and the settings for each plug-in are saved with the chain.
Click the plug-in's button to select it, and use the bottom half of the dialog box to adjust the effect's parameters. For more information about using specific plug-ins,
click the Plug-In Help button.
To hear the results of your effects chain without applying it to the sound file, click the Preview button in the Apply Plug-In Chain window.
You can select the Bypass check box to bypass all effects in the chain, or clear an effect's check box to bypass individual effects.
You can use the buttons and shortcut menus in processing dialogs to set parameters for previewing and processing with plug-ins. Click the More button to display controls you can use to adjust the selection, wet and dry gain, and fade in/out settings.

 to prevent the audio signal from being sent through the plug-in. This
is useful for isolating certain plug-ins without removing others from
the chain
to prevent the audio signal from being sent through the plug-in. This
is useful for isolating certain plug-ins without removing others from
the chain in the Apply Plug-In Chain window. The Plug-In
Chooser window appears.
in the Apply Plug-In Chain window. The Plug-In
Chooser window appears. or
or  buttons.
 .
. button.
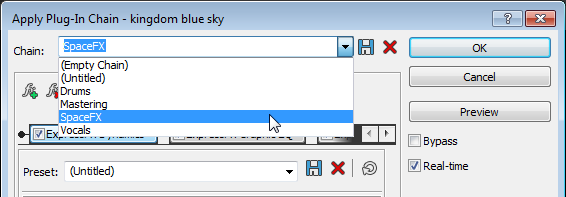
 .
.
 .
. 
 .
.
 .
.