Using the Plug-In Chain
The Plug-In Chain allows you to link up to 32 DirectX and VST plug-ins into a single processing chain. All of the plug-ins in the chain can be previewed simultaneously in real time (as long as your computer can process the preview information quickly enough).
The Plug-In chain window works somewhat different than the application of effects or processes from the Process, Effects or FX Plug-Ins menu and even the Plug-In-Chain used in the Apply Plug-In Chain... option in this menu:
-
All effects in the Plug-In chain window work in real-time on the audio playback of a data window and don't actually change the data in the audio file. So there is no "Apply" or "Process" button. The effects of the chain are applied instead when you save the file.
This also means that you cannot use to the Plug-In-Chain to process just a selection or an event from the data window. If you want to do this, use FX Plug-Ins > Apply Plug-In Chain. For more information, see Applying a Plug-In Chain.
-
Each Data Window has it's own independent Plug-In chain.
-
The Plug-In Chain is mode-less, you can navigate your data windows and change selections or show the Plug-in chain of a different data window without closing the Plug-In Chain window.
This kind of FX processing is called non-destructive, as opposed to destructive FX processing, where the effect is applied immediately after closing the dialog as with the effects from the Processing, Effects an FX Plug-Ins menus
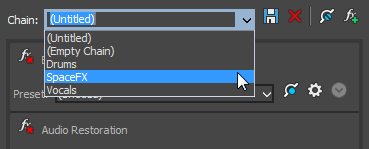
Create a plug-in chain

 to prevent the audio signal from being sent through the plug-in.
This is useful for isolating certain plug-ins without removing others
from the chain.
to prevent the audio signal from being sent through the plug-in.
This is useful for isolating certain plug-ins without removing others
from the chain.
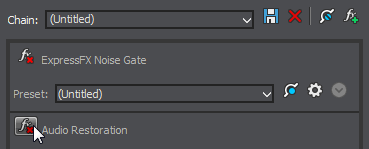
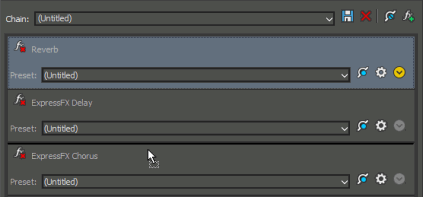
Add, remove, or arrange
plug-ins on a chain

 or
or  buttons.
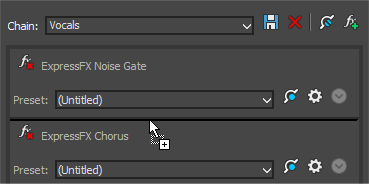
 to display the effect's parameters in a separate
window. For more information about using specific plug-ins, click the
to display the effect's parameters in a separate
window. For more information about using specific plug-ins, click the
 button.
Set a plug-in's properties
Load an effects chain or plug-in preset
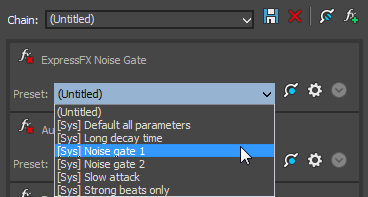
 .
. 
 .
. 
Preview the effects chain
 in the data window's playbar.
Apply the effects chain
Save the plug-in chain
as a preset
 .
.
Save the settings from
an individual plug-in as a preset
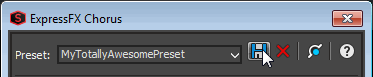

 .
.
Plug-In Chain shortcuts
Last modified on February 23, 2026
Was this page helpful?
What did you particularly like about this page?
What did you dislike about this page?
Thank you for your feedback.