Creating and Editing Tracks for a Disc-at-Once CD
A disc-at-once CD requires that you define a track list before burning.

From the Insert menu, choose CD Track to add a CD track using the current selection as the track length.
TIP
Tips:
-
To preserve events in a file after saving, use a Sound Forge Pro project file for editing. You can then edit the tracks' events over multiple editing sessions.
-
You can use event envelopes to adjust track volume.
Add CD tracks and indexes to a sound file
Create CD tracks from events in a data window
Create CD tracks from regions in a file
Combine open data windows in a new CD layout
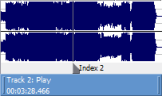
 to show you where the track will be added.
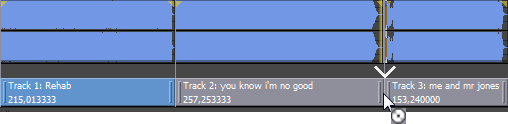
Add files to a data window and create tracks
Open multiple files as CD tracks
Create a new data window using audio files on your computer
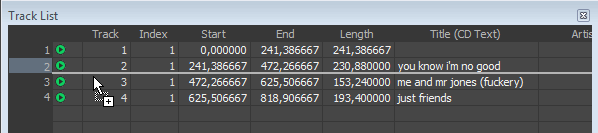
Use the Track List window to create tracks
Add a bonus track at the end of a CD


Last modified on February 23, 2026
Was this page helpful?
What did you particularly like about this page?
What did you dislike about this page?
Thank you for your feedback.